Part 1: Let's get your computer ready!
You’ll create your website with a framework called Jekyll. Despite the unusual name, Jekyll is a nice tool you can use to create simple, yet flexible websites that can grow with you as you learn more about various web technologies.
Before we can get started, let’s take a few minutes to get familiar with an app that allows you to command your computer. We’ll also install a few tools on your computer that will make your work easier.
Get to know the TerminalCommand Prompt
![]() First, find and open an app called TerminalCommand Prompt on your computer.
It’s usually in the
First, find and open an app called TerminalCommand Prompt on your computer.
It’s usually in the /Applications/Utilities folder or you can use Spotlight Search to find it.
You can find it by typing cmd in your search bar in windows menu
The TerminalCommand Prompt looks like something from a sci-fi movie, but don’t be intimidated by its looks.
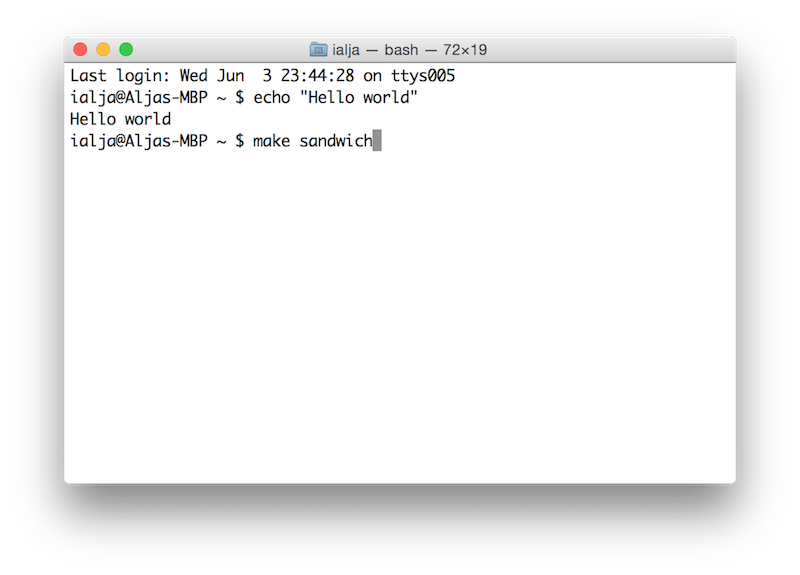
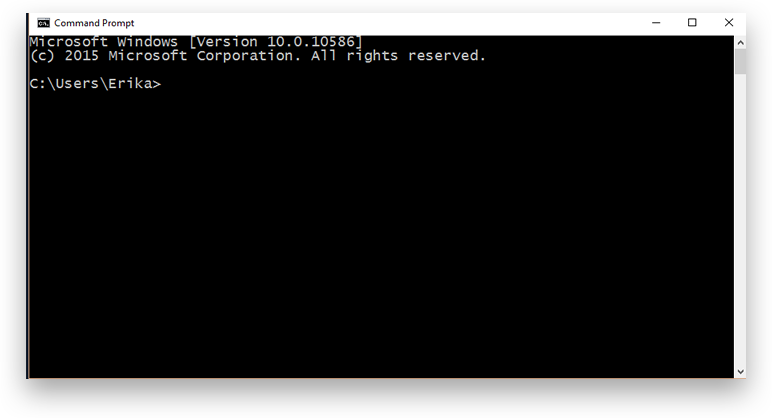
The TerminalCommand Prompt is a powerful tool that you can use to move around your computer and enter various commands. The TerminalCommand Prompt is waiting for your commands if you see $> at the end of the line. Let’s start by typing a simple command first:
$ > whoami
Press the Enter key on your keyboard, and your TerminalCommand Prompt should tell you your current username. For example, this is what you would see if your username were codecat:
$ whoami
codecat> whoami
comuter name\codecat
Move to different folders using text commands
First, let’s try a command that can show us the name and path of the current folder (also called directory):
$ pwdpwd is short for "print working directory".
If your username were codecat(remember the whoami command?), the result should look something like this:
$ pwd
/Users/codecat
> cdcd is short for "current directory".
If your username were codecat(remember the whoami command?), the result should look something like this:
> cd
C:\Users\codecat
Now, to see a list of files and folders inside the current folder, use the following command:
$ lsls is a command that "lists" files in the current folder. The result should look something like this:
$ ls
Applications
Desktop
Documents
Downloads
...
> dirdir is a command used for file and "directory" listing. The result should look something like this:
Directory of C:\Users\codecat

16.10.2015  09:32  .
16.10.2015  09:32  ..
16.10.2015  09:30  Desktop
16.10.2015  09:30  Documents
16.10.2015  11:06  Downloads
03.05.2015  17:17  Favorites
...
Now, let’s move into the Desktop folder:
$> cd Desktop
cd stands for "change directory" (directory is just another name for a folder). You can use pwd to check whether you really moved into the right place. The result you should now see is:
$ pwd
/Users/codecat/Desktop
$ ls
cd with aditional arguments means "change directory" (remember before we just wanted to print the path of the current directory and we didn't pass any aditional arguments to the command). Now we moved to the directory Desktop directory because we passed additional "Desktop" word to the command. The result you should now see is:
C:\Users\codecat\Desktop
> dir
Now, let’s make a new folder on your Desktop, using only text commands. Type in the following command:
$> mkdir cat-folder
mkdir is just a super short version of “make directory” and cat-folder is the name of the folder we want to create (you could choose any other name here).
Now, check you Desktop and you’ll see that a new folder with the name cat-folder just appeared! You can try and make another folder if you want.
To clean up the newly created empty folder, you can use the command:
$ rm -r cat-folder
> rmdir /s cat-folder
rmrmdir stands for “remove directory”. Be careful when using this command, there’s no undo, so make sure you’re only deleting files and folder you don’t need anymore.
$ cdSometimes you’ll want to move to the folder that contains the current folder. For example, if you moved into /Users/codecat/Desktop/cat-folderC:\Users\codecat\Desktop\code-cat and you want to go back to /Users/codecat/DesktopC:\Users\codecat\Desktop, just type the following command to move one level above:
$ cd .
> cd ..
Feeling a bit confused? Reward yourself with some chocolate and feel free to take a few minutes to practice these new commands.
Right now the commands probably look confusing and unnecessary because you can do the same thing much faster using your mouse and FinderFile Explorer, but we promise they become easier with practice (plus, you can already impress your friends by talking to your computer like a hacker from the movies!)
It’s not just about looking cool though, we promise. Eventually, moving through your computer with text commands can become more effecient than using FinderFile Explorer, and you’ll be using the TerminalCommand Prompt more and more as you learn about programming.
Install Ruby
Ruby is a programming language. Don’t worry, you won’t have to learn it just yet, we just need to make sure it’s installed so we can use Jekyll.
On a Mac, you probably already have Ruby installed. See the instructions below for more information on how to check your Ruby installation.
You can find additional installation instructions on the Ruby website (but this shouldn't be necessary).
You will probably need to install Xcode Command Line Tools. To do that, just type the following command in the Terminal:
$ xcode-select --install
In case of problems, you can check out this page for additional instructions
On a Windows computer, use RubyInstaller to install Ruby 2.2.5 on your computer.
Once the Ruby installation is finished, open the Start Command Prompt With Ruby application to continue with this tutorial.
Checking your Ruby installation
Now that you’ve become familiar with TerminalCommand Prompt, you can always run the following command to check whether Ruby is installed and its version:
$> ruby --version
If you get a line that starts with ruby, followed by version number that is 1.9.3 or greater (for example, 2.1.6, 2.2.5), you’re good to go!
Install some very useful gems

Next, we need to install a few tools you’ll need to build your website and publish it online by the end of the day. In Ruby, these additional tools are packaged as gems (pretty cool name, right?).
We’ll need two gems for this tutorial: github-pages and bundler. To install them, just type in the following command in your TerminalCommand Prompt:
$> gem install github-pages bundler
$ sudo gem install github-pages bundler
> SSL_connect returned=1 errno=0 state=SSLv3 read server certificate B: certificate verify failedWhen you enter the command to install new gems, it will take some time for anything to happen. Don’t worry, this is normal.
When you install new gems, your TerminalCommand Prompt has to look for the right gems online, download them and install them on your computer. The github-pages gem includes a lot of smaller gems, so it can take a few minutes to install all of them. Let your TerminalCommand Prompt do the work for you and feel free to grab a cup of coffee or tea while you wait.
Once the installation is done, you’ll see a line telling you how many gems were installed, followed by the regular input prompt of your TerminalCommand Prompt.
Install a text editor
A text editor makes it easier to edit your website’s files and can also help you edit your code by providing helpful suggestions. Pretty cool, eh? You’ll be using this a lot today.
To make sure we’re all using the same tools, let’s go ahead and install Sublime Text 2 (direct download link for Mac OS XWindows or Windows 64 bit).
Install GitHub Desktop
![]() The GitHub Desktop app will make it easier to publish your website online at the end of the day, or any other time, for that matter.
The GitHub Desktop app will make it easier to publish your website online at the end of the day, or any other time, for that matter.
Visit this page to install the app on your computer. There’s also a help page if you’ll ever need more information about the app and hints about how to use it.
And finally, download and install Git from this page. This is also something we'll need to publish your website. You don't need to change any settings in the installer.
What did you learn?
Granted, this part of the tutorial wasn't very interesting, but you did install everything we'll need later on and learned the basics of using the TerminalCommand Prompt.In Part 2, you’ll learn how to set up a new Jekyll project.