Part 7: Add some images and update your website
In Part 6, you published your website online using GitHub Pages. To make it even more interesting, you’ll now learn how to add images and update your published website again.
Create a new folder for your images
It’s a good idea to create a new folder for your images, so they don’t get mixed up with the rest of your content. Go ahead and create a folder called images in your project folder (feel free to use FinderFile Explorer for this).
Add photos to you image folder
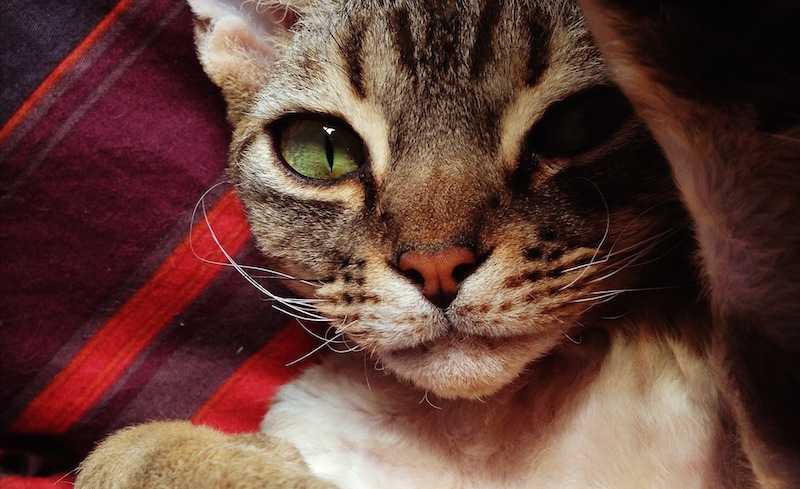
Copy at least one photo you want to use on your website to this folder. You can use images you already have on your computer or download and reuse the following photo:
Display a photo on your front page
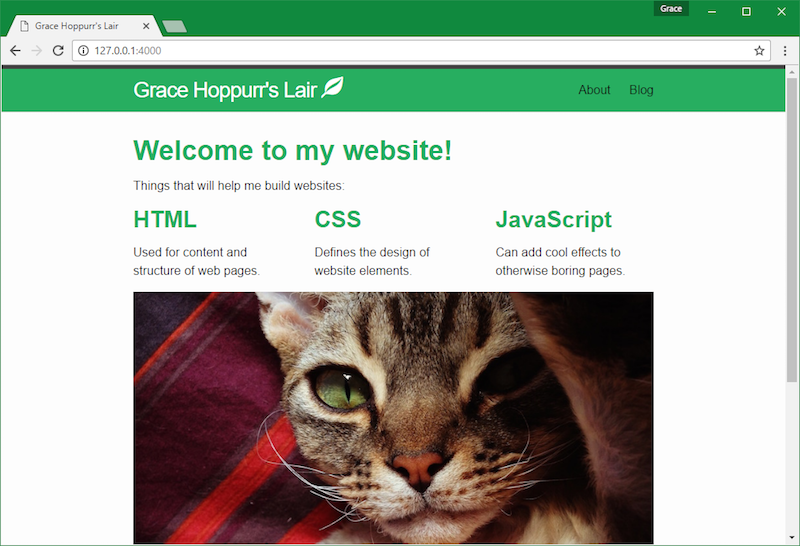
Let’s try displaying this cat (or any other photo you like) on the front page of your website. We’ll use the <img> HTML tag to tell our website the location of our image. Open the index.html file and add the following line where you want the photo to appear:
<img src="/images/cat.jpg"/>
Save index.html, refresh the website in your browser, and you should see the image appear.
This tag will only display a cat photo on your front page if you have a photo with the name cat.jpg in a folder named images. If your photo file has a different name, use that name.

Add more photos
It’s your turn to choose and add more photos to your website. Just reuse the <img> tag on any page or blog post wherever you want to display an image:
<img src="/images/file-name.jpg"/>
Don’t forget to replace the file-name.jpg with the actual name of the photo file of an image that you’ve copied into your images folder. It’s pretty common to make a typo in the file name, so double check the folder and file names if the image you want to display doesn’t appear on the page.
Update your website again
Once you’re happy with the new images on your website, it’s time to sync the changes to GitHub Pages so that everyone will be able to see your awesome photos.
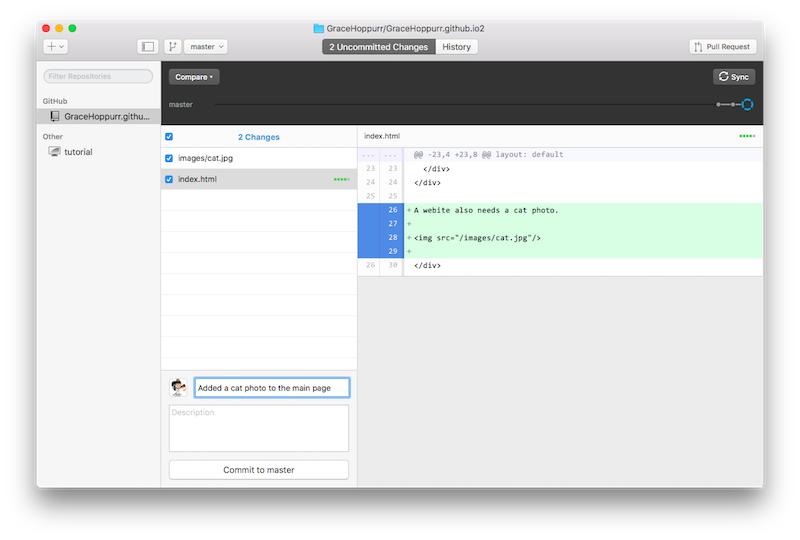
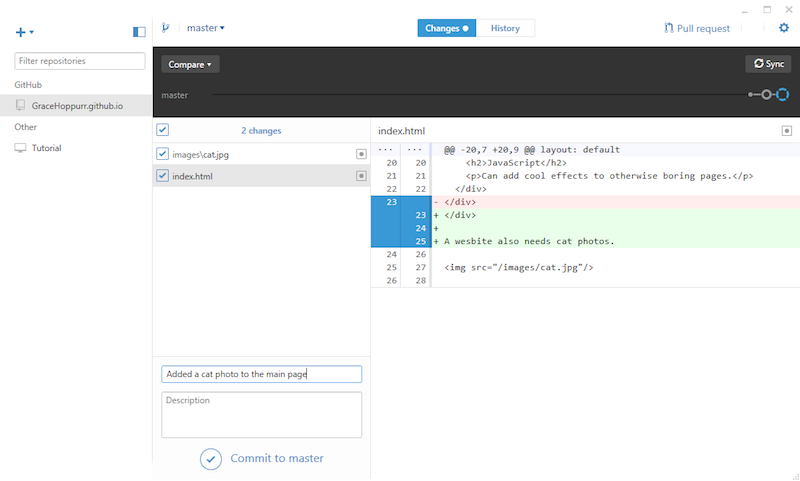
Open the GitHub app on your computer again and go through both of the steps you’ve learned in Part 6. To recap:
- You first need to review the changes you've made in the Uncommited ChangesChanges section of the app (make sure there aren't any changes you don't want to publish here - it happens!)
- After you've checked the changes in all files, write a Summary for your commit and click the Commit to master button, so your commit package will be moved to the History section
- Now you can click on the Sync button in the top right corner to push your latest commit to your repository on GitHub, which will automatically update the online version of your website.
After the sync, your website at <username>.github.io should also have the photos you’ve just added. Just keep in mind that sometimes it takes a few minutes for changes to appear. If your latest changes are listed on your repository page on GitHub (https://github.com/<username>/<username>.github.io), they should eventually appear on your website too.
You can sync your website this way every time you have new content for your website or want to change its look.
What did you learn?
Congratulations! You've built your website, learned how to add new content, made your first design changes, published it online, and now you also know how to add photos and update your website. This calls for a little (or big, we won't judge) celebration!This is the last step of our tutorial, but we hope this is just the beginning of your learning journey. Feel free to play with your website a bit more, and don’t forget to update your online version. When you’re ready for more, head over to the What’s next? section for tips on how you can keep learning amazing new website building skills.