Part 3: Add and edit pages
In Part 2, you created your first Jekyll website. You already changed some of the text that appears on the front page, now it’s time to learn more about editing and adding new pages to your website.
Edit the front page of your website
In Sublime, open the file index.html.
It’s made out of two parts. The first part is written in YAML front matter which can be used to define variables, special characteristics of the page. In order for Jekyll to understand YAML, it must be the first thing in the file and placed between triple-dashed lines, just like in the index.html file:
---
layout: default
---
In this case, the YAML part is pretty simple. The only thing we define for this page is that it uses the default layout of the page. You can define your own layouts for different pages later on, when we’ll learn how to customize Jekyll themes.
HTML, the language of web
The second part of index.html is more interesting. It’s mainly written in HTML (HyperText Markup Language):
<div class="home">

  <h1 class="page-heading">Posts</h1>

  <ul class="post-list">
    {% for post in site.posts %}
      <li>
        <span class="post-meta">{{ post.date | date: "%b %-d, %Y" }}</span>

        <h2>
          <a class="post-link" href="{{ post.url | prepend: site.baseurl }}">{{ post.title }}</a>
        </h2>
      </li>
    {% endfor %}
  </ul>

  <p class="rss-subscribe">subscribe <a href="{{ "/feed.xml" | prepend: site.baseurl }}">via RSS</a></p>

</div>
Looks confusing, but it’s actually pretty simple. HTML is mainly used to define the structure of websites. Let’s take a closer look at this line:
<h1 class="page-heading">Posts</h1>
You can see the text “Posts”, which is also displayed on the website. If you change this text to “Cats”, the text on the website will also change. Everything else around the text is HTML. HTML tags that tell your web browser that “Posts” is a level 1 Heading. The tag for a level 2 heading is <h2> and so on.
HTML tags are usually made out of two parts: the opening (<h1>) and closing tag (</h2>. The basic structure is:
<tag>Content</tag>
In the example above, the <h1> tag also includes an attribute: class="page-heading". We can use this additional setting for design later on. Attributes can also define the size of an element (an image, for example), although it’s best to use CSS for design (more about that later) and use HTML tags to define the structure of the content.
Some other common HTML tags are:
p: for defining paragraphs in text,div: for defining blocks of content,ul: unordered list, which includes one or more list elements (li) with text,-
a: the tag used for creating links to other pages. This tag also has the attributehreffor defining the link location. A link to Google in HTML is written as:<a href="http://www.google.com">link to Google</a>
Let’s add some new HTML content. In index.html, add the following lines after the line <div class="home">:
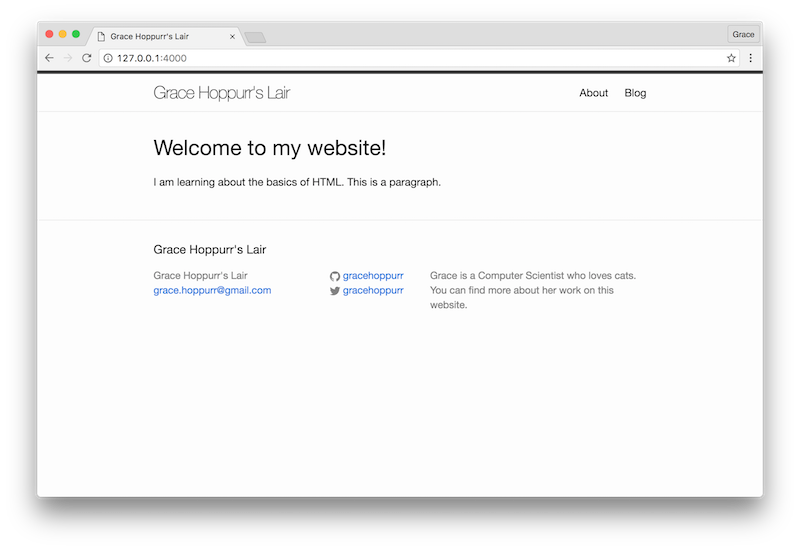
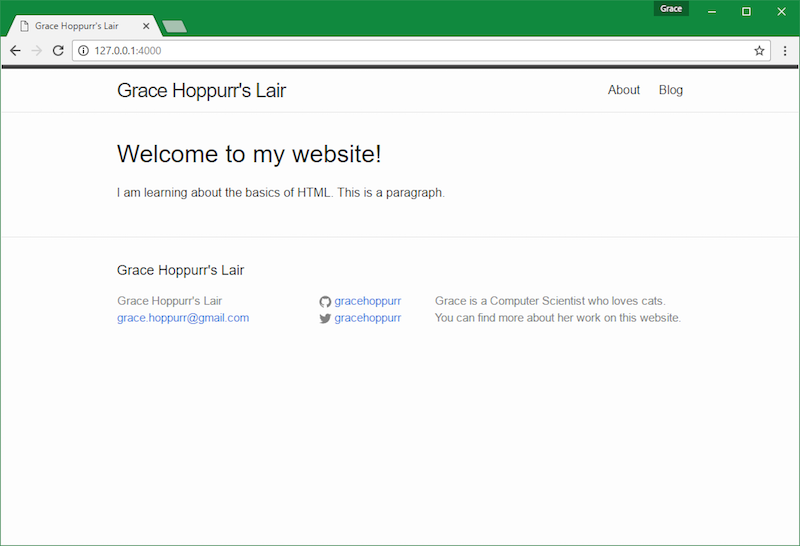
<h1>Welcome to my website!</h1>

<p>I am learning about the basics of HTML. This is a paragraph.</p>
Save the file, refresh the website in your web browser. You should see the new text. Feel free to add more content about yourself on the page.
Explore any website in the world
Now that you know a bit about HTML, you can start exploring how other websites are built. Every web browser allows you to view the pure HTML version of any website. We call this version the source code.
Option (⌥) + Command (⌘) + UCTRL + U.
If the keyboard shortcut above doesn’t work, you can find more detailed instructions for different web browsers on this page. Or you can ask Google something like: how to view website source code in (name_of_your_web_browser). Don’t be afraid to ask Google for help when you can’t remember how to do something!
Desktop web browsers also offer other tools that can help you see how a webpage works. We like using Chrome and its Developer Tools, but other web browsers have similar capabilities as well. Try exploring them when you have the time and play with the design of your favorite website.
Add a new page
Let’s get back to your own website. At the moment, you still have the section that displays blog posts on the front page of the website. We’ll now create a new web page that will be used for displaying blog posts, so there’s more space for other content.
Use FinderFile Explorer to make a copy of the file about.md and rename the copy to blog.html (make sure both files are in the same folder). Edit the YAML part of blog.html like this:
---
layout: page
title: Blog
permalink: /blog/
---
Delete the rest of the content and use cut and paste to move the following part from index.html into blog.html (make sure to leave the YAML at the beginning of the blog.html file, the copied HTML should start in lines following the second pair of ---):
  <h1 class="page-heading">Posts</h1>

  <ul class="post-list">
    {% for post in site.posts %}
      <li>
        <span class="post-meta">{{ post.date | date: "%b %-d, %Y" }}</span>

        <h2>
          <a class="post-link" href="{{ post.url | prepend: site.baseurl }}">{{ post.title }}</a>
        </h2>
      </li>
    {% endfor %}
  </ul>

  <p class="rss-subscribe">subscribe <a href="{{ "/feed.xml" | prepend: site.baseurl }}">via RSS</a></p>
Save all edited files (index.html and blog.html), refresh the website in your web browser and make sure everything works as expected. The navigation menu in the upper right corner should now have the link to your newly created “Blog” page.
If you want to add new pages, follow the same process. Create a new file (for example, cats.html) by duplicating one of the existing pages in your project folder, make sure it has a defined title, layout and permalink in the YAML part between triple-dashed lines, and then add any content you want using HTML.
What did you learn?
You now know how to edit pages on your website, pretty cool! You've learned the basics of YAML and HTML and you moved some content from the front page to a new page you created.In Part 4, you’ll also learn how to edit and add new blog posts.